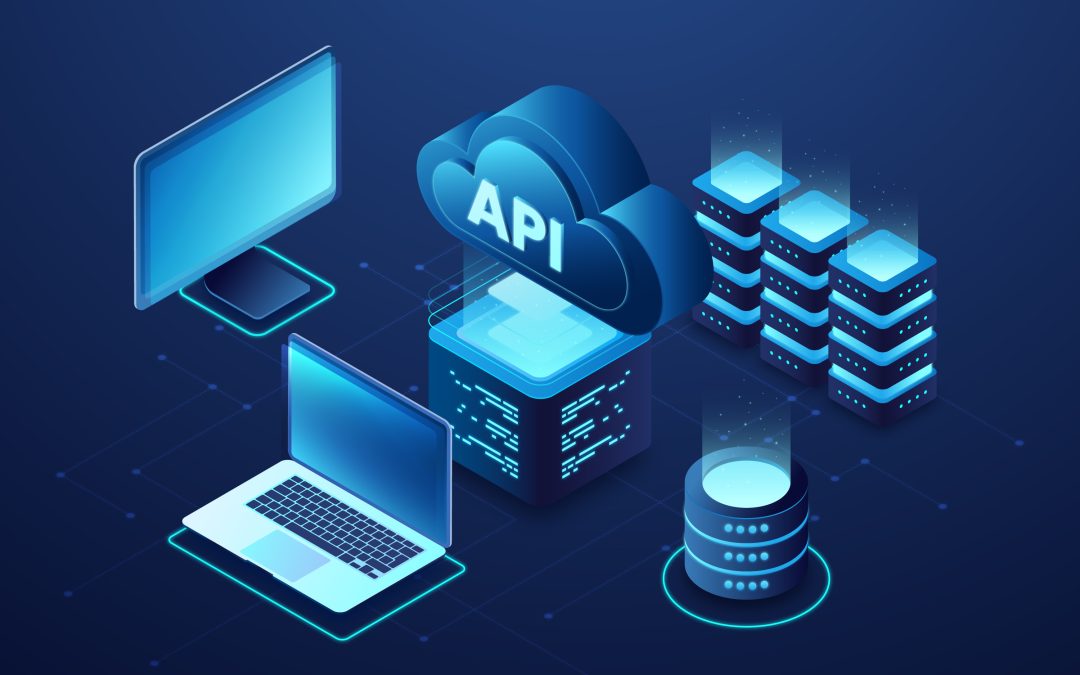
Introduction
In recent years, ARM-based virtual private servers (VPS) have emerged as a powerful alternative to traditional x86-based cloud infrastructure. ARM processors, known for their efficiency and cost-effectiveness, now support a variety of workloads, including Kubernetes clusters. Kubernetes (K8s) has become the gold standard for container orchestration, allowing businesses to deploy, manage, and scale containerized applications efficiently.
This guide explores how to build a scalable Kubernetes cluster on ARM-based VPS servers, covering everything from setup and networking to scaling, monitoring, and automation. Whether you’re a DevOps engineer, cloud architect, or developer, this tutorial will help you leverage ARM architecture for a high-performance Kubernetes environment.
Why Choose ARM-Based VPS for Kubernetes?
While x86-based VPS servers remain the dominant choice in cloud computing, ARM-based instances offer compelling benefits:
1. Cost-Effective Performance
ARM processors consume less power than x86 processors, leading to lower operating costs. Many cloud providers offer ARM-based instances at a reduced price, making them a cost-efficient choice for running Kubernetes clusters.
2. Improved Energy Efficiency
ARM architectures prioritize power efficiency, making them ideal for organizations looking to minimize their environmental footprint while maintaining high performance.
3. Native Multi-Architecture Support in Kubernetes
With advancements in containerization, Kubernetes and Docker now support multi-architecture images, meaning applications can run on both x86 and ARM architectures without modification.
4. Competitive Performance for Scalable Workloads
Modern ARM-based VPS instances provide comparable or superior performance to x86-based alternatives in many scenarios, particularly when optimizing workloads for ARM-native software.
5. Future-Proofing Infrastructure
As more cloud providers adopt ARM-based instances, transitioning to ARM infrastructure can help future-proof deployments, ensuring compatibility with the latest computing trends.

Understanding Kubernetes Cluster Architecture
Before diving into the installation, it’s essential to understand the core components of a Kubernetes cluster:
- Control Plane (Master Node): Manages cluster operations, scheduling workloads, and maintaining system state.
- Worker Nodes: Execute workloads, host containers, and communicate with the control plane.
- Pod Network: Facilitates communication between Kubernetes nodes and containers.
- Storage & Load Balancing: Manages persistent storage and distributes traffic efficiently.
For a stable Kubernetes cluster, the minimum setup typically depends on your requirements for high availability (HA), resilience, and workload demands. Here’s a breakdown:
Control Planes
- Minimum: 1 control plane node
- A single control plane node can technically run a Kubernetes cluster. However, this setup is not considered stable or production-ready because it lacks redundancy. If that node fails, the entire cluster becomes unavailable.
- Recommended for Stability: 3 control plane nodes
- For a highly available (HA) cluster, you need at least 3 control plane nodes. This allows the cluster to tolerate the failure of one node while maintaining quorum for the etcd database (which stores the cluster’s state) and ensuring the API server, scheduler, and controller manager remain operational. Kubernetes uses a leader-election mechanism, and an odd number (like 3) ensures a majority can still function.
Worker Nodes
- Minimum: 1 worker node
- A single worker node can run your application pods, but like a single control plane, it’s a single point of failure. If it goes down, your workloads stop running.
- Recommended for Stability: 2 or more worker nodes
- At least 2 worker nodes provide basic redundancy. With 2 nodes, workloads can be rescheduled if one fails (assuming you have pod disruption budgets and replication configured). For better stability and capacity, 3 or more is common in production.
Absolute Minimum for a “Stable” Cluster
- 1 control plane + 1 worker node: This is the bare minimum functional cluster, often used for development or testing. However, it’s not truly stable due to the lack of redundancy.
- 3 control planes + 2 workers: This is the minimum for a production-grade, stable, and highly available cluster. It balances redundancy and resource efficiency.
Step 1: Preparing the ARM-Based VPS Servers
To build a Kubernetes cluster for this tutorial, we’ll set up one control plane node and two worker nodes.
Choosing the Right VPS Specifications
When selecting ARM-based VPS instances, consider:
- CPU & RAM: At least 2 vCPUs and 4GB RAM for control plane; 2 vCPUs and 2GB RAM per worker node.
- Disk Space: Minimum 20GB SSD storage for each node.
- Networking: Ensure private networking is enabled between nodes for secure communication.
Configuring Each VPS
After provisioning the servers, perform these steps on all nodes:
- Update packages
sudo apt update && sudo apt upgrade -y
sudo apt install -y curl vim git wget- Set hostname
sudo hostnamectl set-hostname <node-name>
echo "127.0.1.1 <node-name>" | sudo tee -a /etc/hosts
Replace <node-name> with control-plane, worker1, and worker2 accordingly.
- Disable swap
sudo swapoff -a
sudo sed -i '/ swap / s/^/#/' /etc/fstab- Enable IP forwarding
echo "net.ipv4.ip_forward=1" | sudo tee -a /etc/sysctl.conf
sudo sysctl -p
Step 2: Installing Kubernetes and Container Runtime
Kubernetes requires a container runtime to manage containers. We’ll use containerd, a lightweight and efficient option.
- Install containerd and configure it to work with Kubernetes.
sudo apt install -y containerd
sudo mkdir -p /etc/containerd
containerd config default | sudo tee /etc/containerd/config.toml >/dev/null
sudo systemctl restart containerd
sudo systemctl enable containerd- Install Kubernetes components (kubelet, kubeadm, kubectl) on all nodes.
sudo apt install -y apt-transport-https ca-certificates curl
curl -fsSL https://pkgs.k8s.io/core:/stable:/v1.27/deb/Release.key | sudo tee /etc/apt/keyrings/kubernetes-apt-keyring.asc
echo "deb [signed-by=/etc/apt/keyrings/kubernetes-apt-keyring.asc] https://pkgs.k8s.io/core:/stable:/v1.27/deb/ /" | sudo tee /etc/apt/sources.list.d/kubernetes.list

sudo apt update
sudo apt install -y kubelet kubeadm kubectl
sudo systemctl enable kubelet- Initializing the Kubernetes Control Plane
On the control plane node, initialize the cluster with:
sudo kubeadm init --pod-network-cidr=192.168.0.0/16Once initialization completes, configure kubectl:
mkdir -p $HOME/.kube
sudo cp -i /etc/kubernetes/admin.conf $HOME/.kube/config
sudo chown $(id -u):$(id -g) $HOME/.kube/config
Step 3: Setting Up Kubernetes Networking
By default, Kubernetes does not include a networking solution. A Container Network Interface (CNI) is required to enable communication between pods and nodes.
We’ll use Calico, a popular networking solution offering:
- High-performance networking
- Built-in network policies for security
- Scalability for large Kubernetes deployments
Applying the Calico configuration ensures all nodes can communicate properly.
kubectl apply -f https://docs.projectcalico.org/manifests/calico.yamlStep 4: Joining Worker Nodes to the Cluster
Once the control plane is initialized, worker nodes must be added to the cluster. Kubernetes provides a unique token that allows nodes to join securely.
- Run the kubeadm join command on each worker node.
- Verify that all nodes are registered correctly in Kubernetes.
On the control plane node, get the join command:
kubeadm token create --print-join-commandCopy the output and run it on each worker node. Example:
sudo kubeadm join <control-plane-ip>:6443 --token <token> --discovery-token-ca-cert-hash sha256:<hash>Once done, you can run the following command from the Control Plane to verify that all nodes have joined the cluster:
kubectl get nodesStep 5: Deploying a Sample Application
With the cluster up and running, it’s time to test its functionality by deploying an Nginx application.
- Deploy an Nginx container using a Kubernetes Deployment, and expose the application with a NodePort Service:
kubectl create deployment nginx --image=nginx
kubectl expose deployment nginx --port=80 --type=NodePort- Get the external access URL:
kubectl get svc nginxAccess Nginx via <worker-node-ip>:<NodePort> in a web browser. Verify that the application is accessible via the assigned port. This step ensures that Kubernetes is correctly scheduling workloads and that networking is functional.
Conclusion
Congratulations! You have successfully built a scalable Kubernetes cluster on ARM-based VPS servers. This setup provides a powerful, cost-efficient, and energy-efficient way to manage containerized workloads while leveraging the benefits of ARM architecture.
Through this guide, we accomplished the following:
✔ Set up ARM-based VPS instances and configured Kubernetes
✔ Installed Kubernetes and networking components (Calico, MetalLB)
✔ Joined worker nodes to the cluster
✔ Deployed a sample Nginx application
✔ Tested application accessibility and basic functionality
At this stage, your Kubernetes cluster is operational and ready for deployment. However, scalability and high availability are key for ensuring that your workloads can handle varying traffic demands efficiently.
In the next guide, we will focus on Scaling the Kubernetes Cluster, where we will implement Horizontal Pod Autoscaler (HPA), Cluster Autoscaler, and load balancing to ensure optimal performance.
Power Your Projects with vpszen.com VPS Solutions
Looking for reliable hosting to run your Linux servers and host your next big project? VpsZen.com has you covered with top-tier VPS options tailored to your needs.
Choose from ARM64 VPS Servers for energy-efficient performance, or Root VPS Servers for virtual servers with dedicated resources.